One of our pillars is Nourish, which encompasses the food we eat and the experience of eating. Our philosophy is that we should fill our bodies with as many nourishing foods as we can and also love what we’re eating. This is why we cook most of the food we consume – because we get to control the quality of the ingredients and prepare it in a way that makes it taste amazing.
Two years ago, we started our “Friday pizza” weekly ritual. It began as part of our Hallmark channel Christmas countdown, where on Friday afternoons, we’d make a pizza together, open a bottle of wine from our homemade wine advent calendar and watch a Hallmark movie together. Once the holiday season ended, we had fallen in love with our Friday pizza tradition and we’ve kept that part going ever since!
In honor of National Pizza Day, we wanted to share how we make our delicious grilled pizzas and our top tips for success!
Click to jump to a specific part of this article:
Toppings:
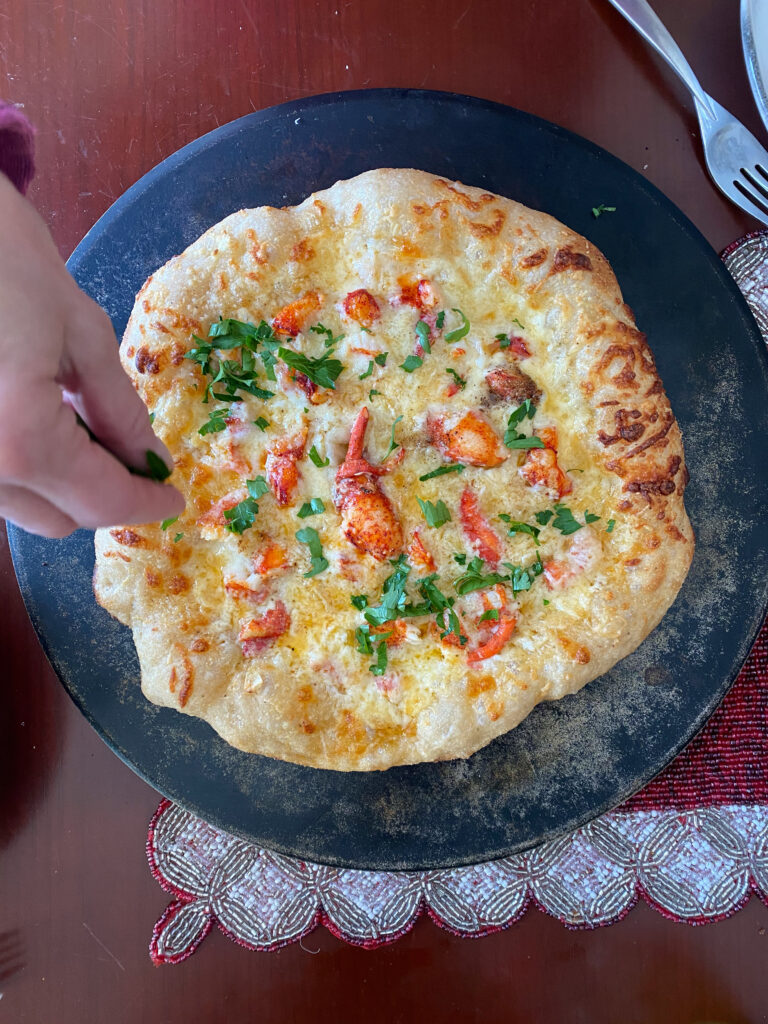
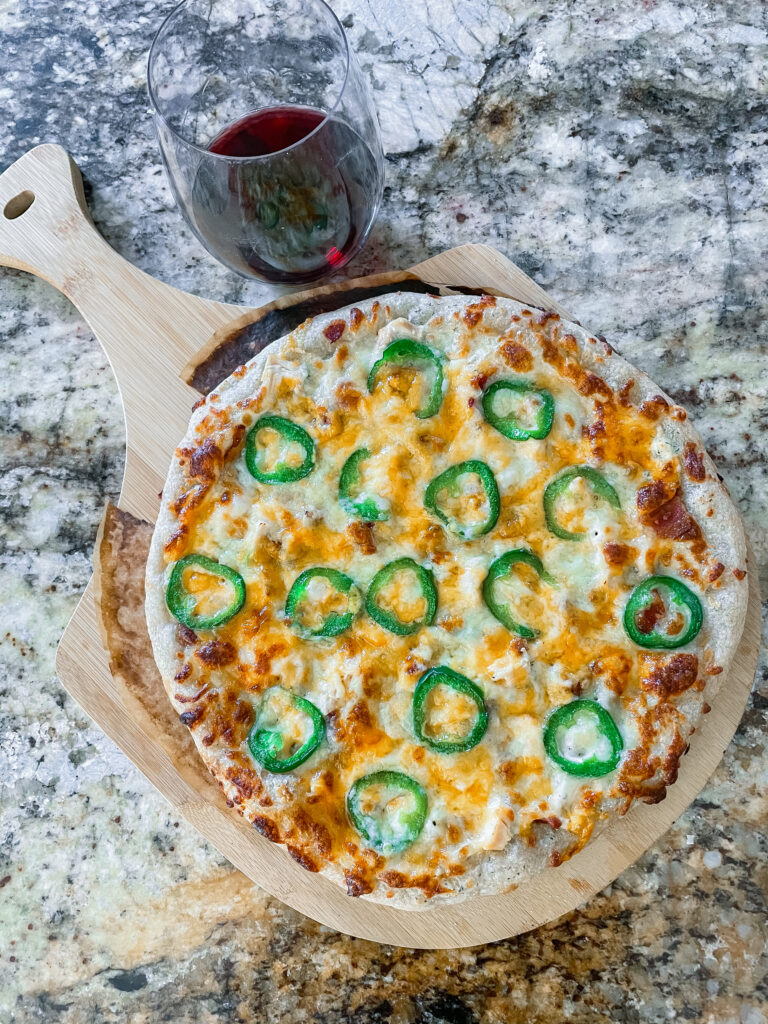
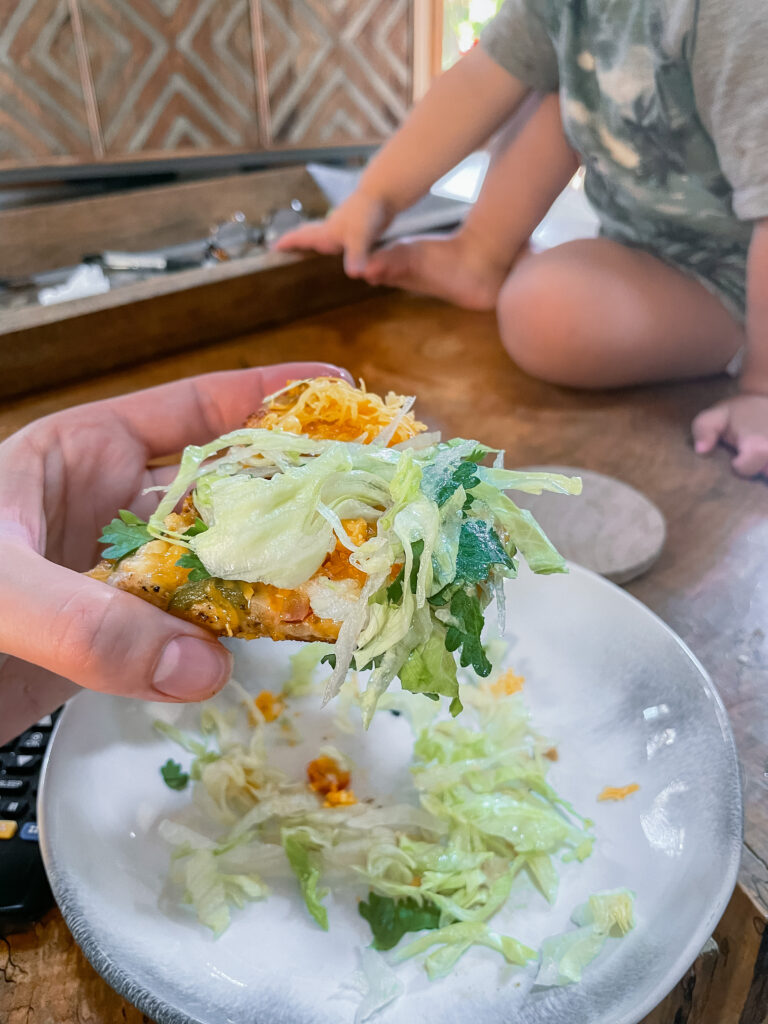
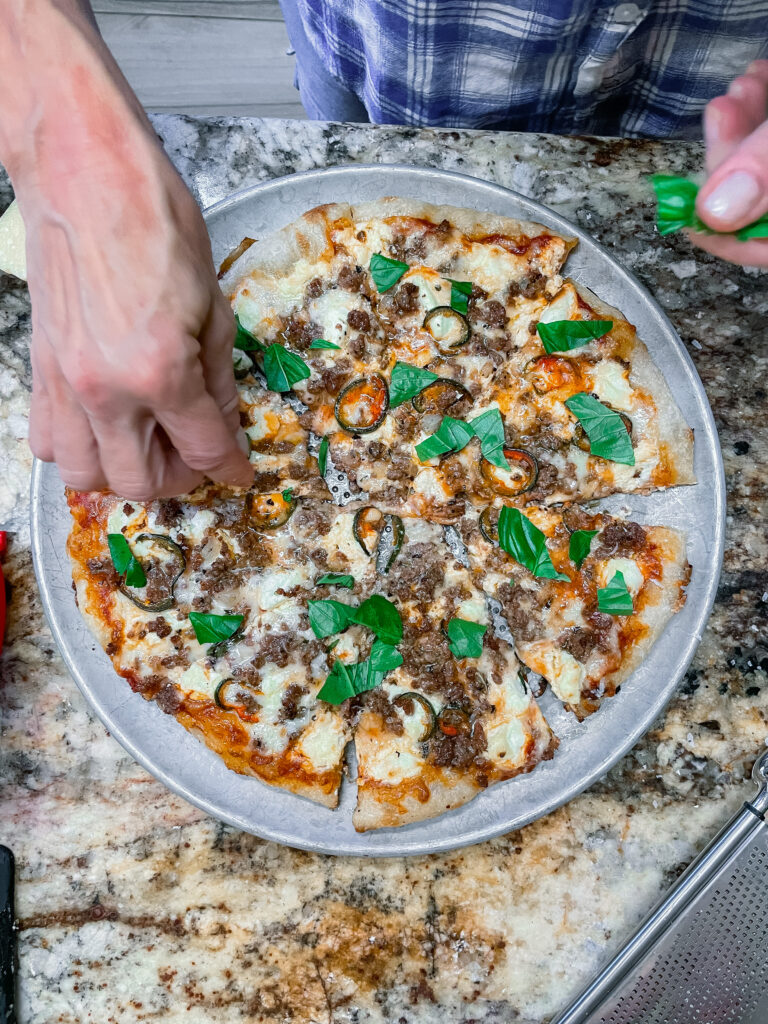
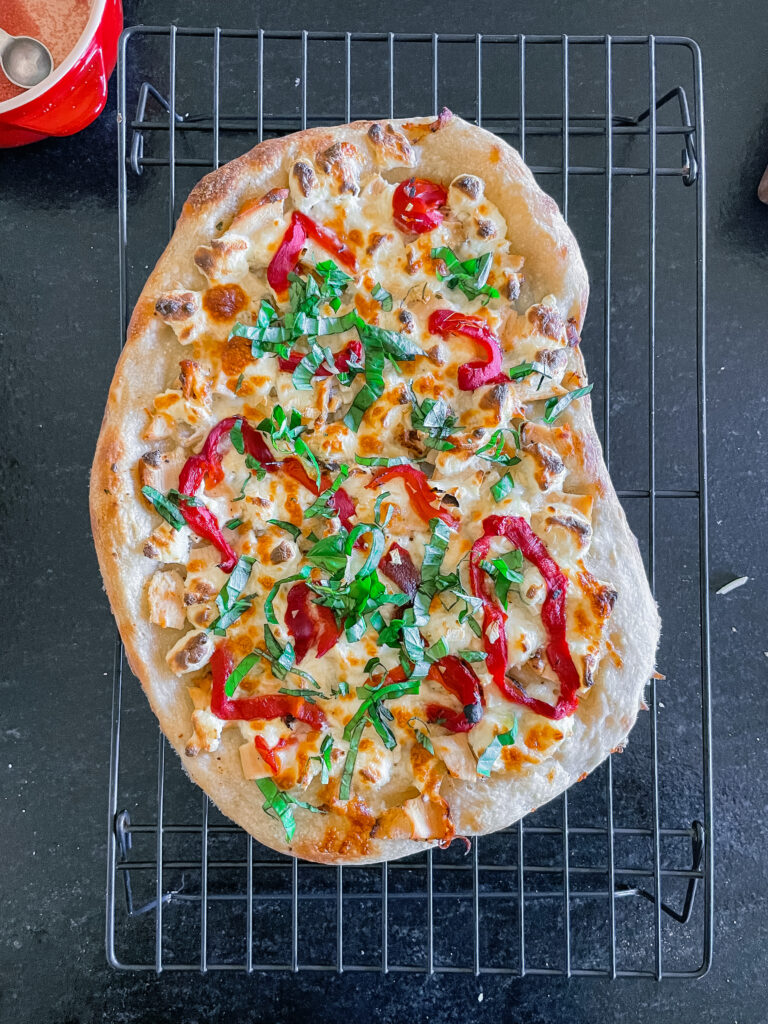
We make all kinds of pizzas based on whatever we’re craving that week, including classic Italian flavors with red sauce and spicy Italian sausage, Thai chicken, chicken bacon ranch, taco, meatball, Philly cheesesteak, reuben and more.
The key with whatever toppings you choose is to keep them LIGHT. Weighing down your pizza with lots of sauce and toppings will result in a soggy, flimsy crust. Nobody wants that!
Sauce
We generally use 1-2 tablespoons of sauce for our 10-12” pizzas. Sauce can quickly weigh your pizza down so you should use just enough to provide a light coating on your pizza.
Cheese
Sprinkle just enough cheese to make a single layer across the pizza, allowing small peeks of sauce to show through. Cheese will also quickly weigh your pizza down, so this important! The cheese will melt and fill in those little holes, don’t worry.
Our “Cornerstone” Toppings
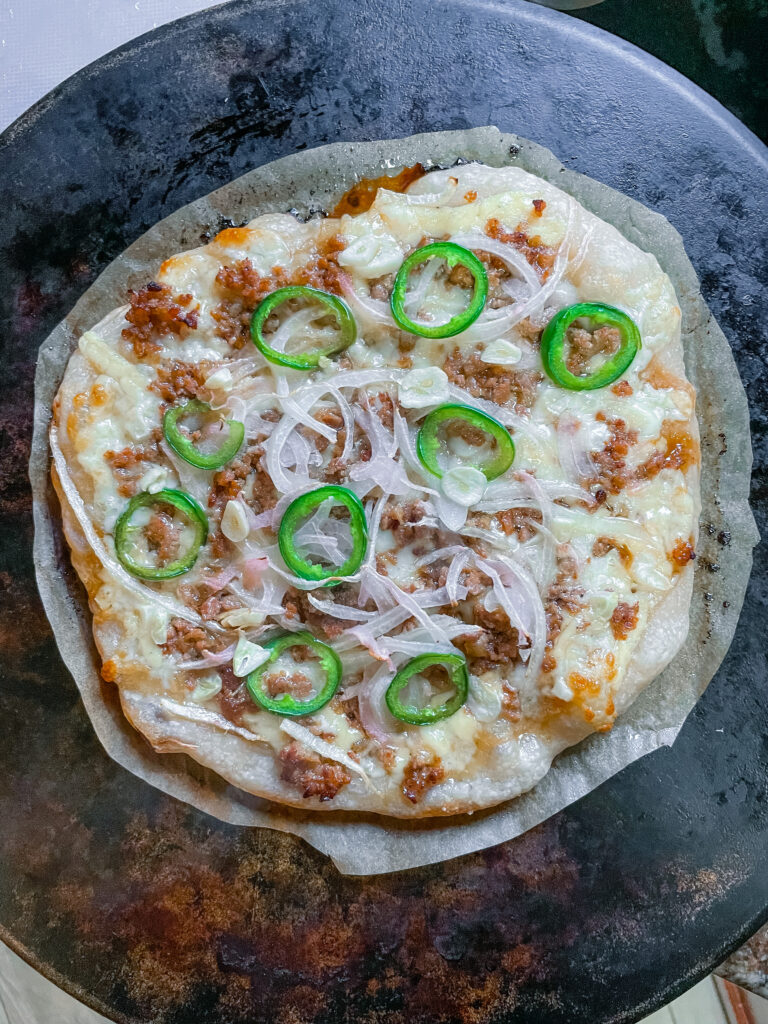
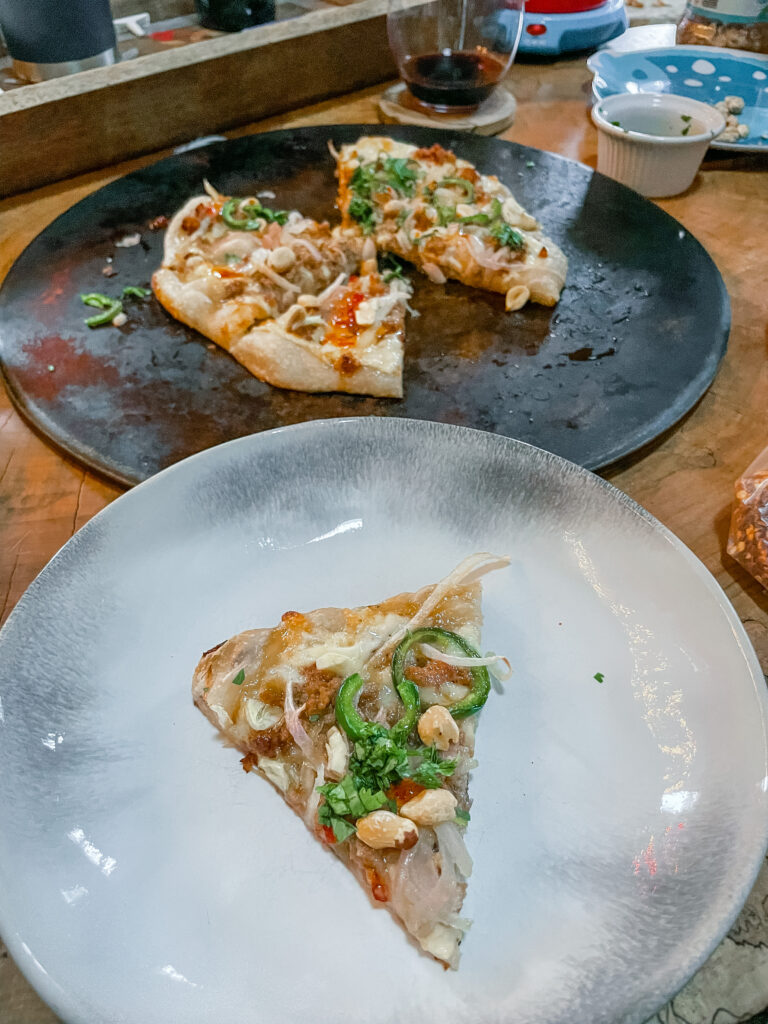
We include thinly-shaved (we’re talking so thin it’s see-through) sweet onion, thinly-sliced garlic and fresh jalapeño slices on every one of our pizzas, regardless of the rest of the topping combinations. Of course you can skip any of these, but we love the flavor they add and wanted to share.
Crust:
Regardless of our choice of toppings, the crust is always the same – a Neopolitan-style thin and chewy crust made with sourdough.
Brianna makes it with her 6-year-old sourdough starter and uses organic, unbleached, unenriched flour. Because it’s a long-fermented sourdough crust, the wild yeast has already predigested the gluten in the dough, making the crust easier for us humans to digest when we eat it. It also has wonderful flavor thanks to the sourdough component.
If you don’t have a sourdough starter, maybe now is your time to start one! Otherwise, there are plenty of great pizza crust recipes online that use commercial yeast. Just check the pictures and reviews to ensure it’s a thinner crust as those tend to work better on the grill. If you want our sourdough recipe, send us an email and we’ll be happy to share.
Parchment
We like to use these parchment rounds when making pizza (12” size). Not only does it prevent sticking when cooking and allow easy transfer after cooking, it also acts as a “stencil” for stretching your dough. Because the dough we use is very wet, we plop the dough ball into the center of a parchment circle and gently press from the center of the dough ball and outward to form a circle that fits the entire diameter of the parchment. Be sure not to touch the outer inch of the rim of the dough when forming your circle. This helps set up a puffier crust and allows for those signature air pockets to form. In general, sourdough crusts don’t get super puffy, but they will have some rise if you don’t handle the very edge of the crust.
Also, if your dough was in the fridge or freezer, let it come to room temperature before trying to form your crust. Once you start forming your crust, if the dough continues “bouncing” or pulling back toward the center, let it rest 15 minutes and then continue shaping again.
Grilling:
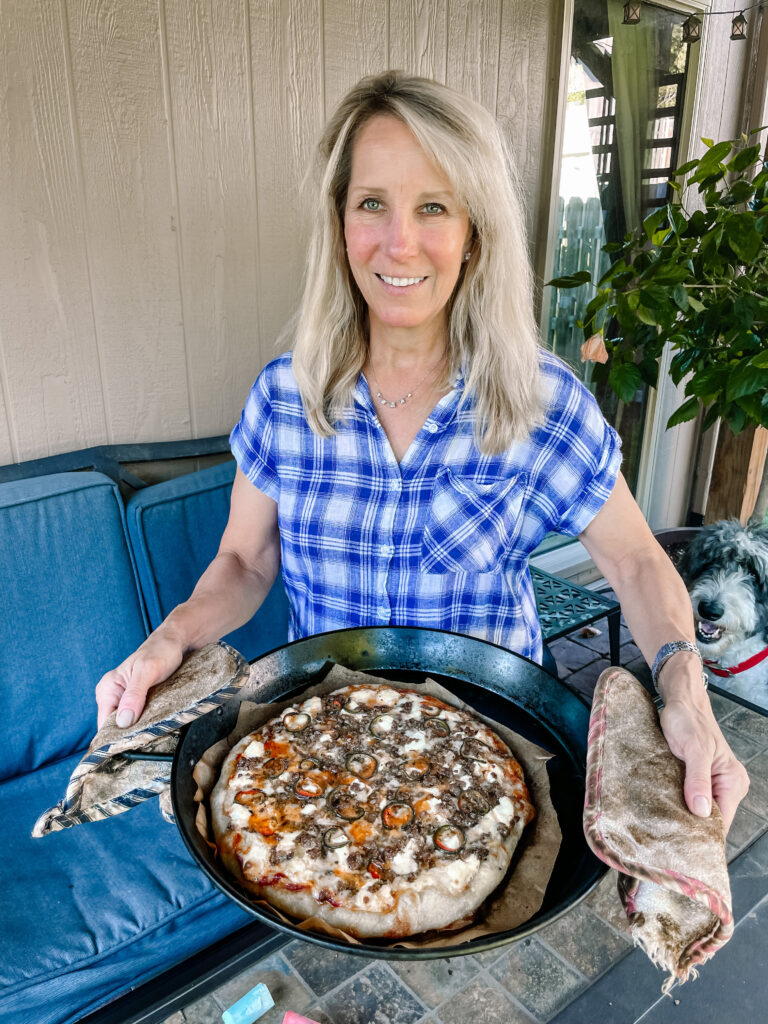
To make a great grilled pizza, you’ll want to get your grill nice and hot – 500 degrees to be exact. You do not need to preheat your pan if you use a paella pan like we do. We love our steel paella pans because they’re lightweight and transfer heat evenly. They can even be used on your stovetop or in your oven for other non pizza-making purposes (or if you were going to actually make, say, paella).
Tip: before you stretch your crust, place your parchment on your paella pan, stretch the dough and build your pizza from there.
That way, you don’t have to mess with transferring your delicate uncooked pizza from a surface to your pan. Obviously if you are making more than one pizza, you’ll have to transfer your remaining pizzas from the surface you prepped them on, since you wouldn’t want to try building them on the hot pan after cooking a previous pizza. A pizza peel can be helpful for transferring uncooked pizzas onto the pan in this case, as well as transferring the finished product onto your serving board or tray.
Once your grill is hot, put the paella pan with the pizza on and check how it’s doing after 5 minutes. In total, our pizzas only take about 10-12 minutes. You’ll know when it’s done when the bottom of the crust has dark marks on it (but don’t let it burn!).
If your crust looks done but your toppings need more cooking time, you can transfer your entire paella pan to your oven and broil the pizza until the top is done to your liking.
Serving:
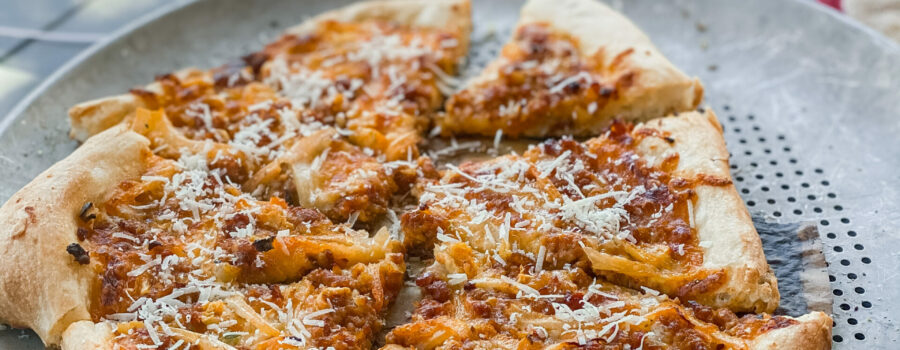
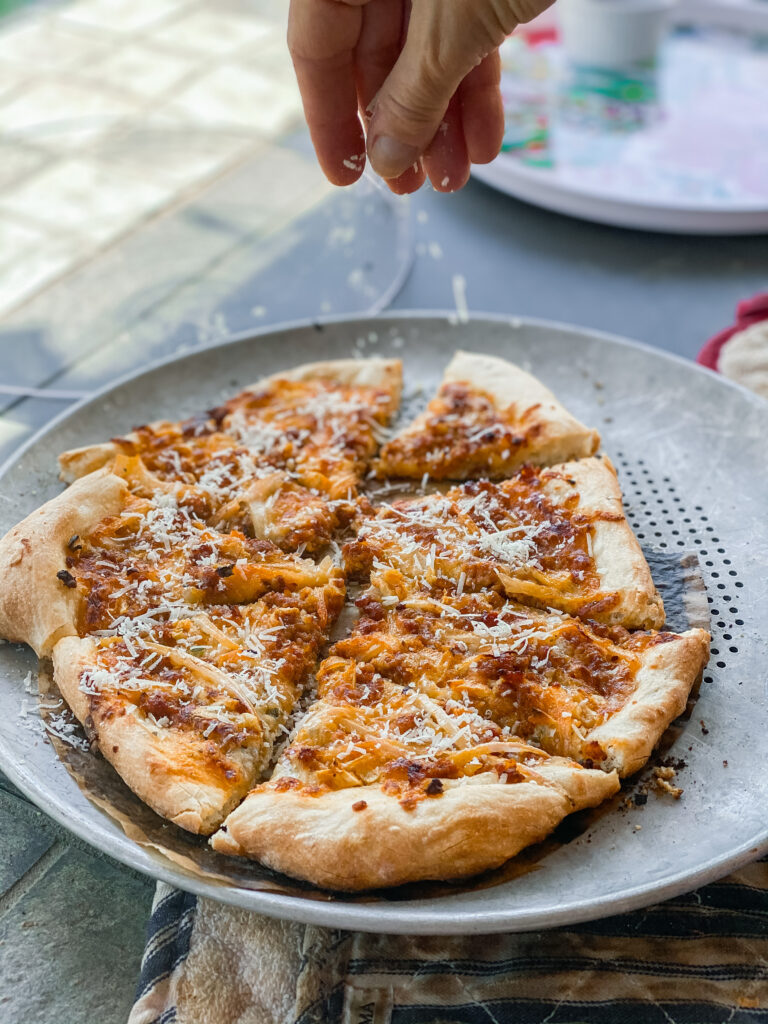
It’s best to transfer your cooked pizza to a wire rack or perforated pan to cool slightly before slicing. This helps the crust remain slightly crisp.
We love these pizza scissors for cutting slices, rather than the traditional roller. It’s just personal preference but they’re so easy to use and you feel pretty cool using them.
We like to top our finished pizza with freshly-grated parmigiana reggiano (using a rotary grater) and red pepper flakes.
Summary of pizza tools we use:
- Paella pan for grilling
- Parchment circles (you can also buy rectangle sheets, just be sure to cut any extra parchment close to the pizza edge, otherwise it’ll burn)
- Pizza peel to help with transferring
- Pizza scissors
- Rotary grater for parmesan cheese
Of course, if your pizza leaves you feeling overly full, perhaps you ate too much, first of all. Second, go for a leisurely walk after your meal. This is a great tip after any meal as it helps lower your blood sugar and helps you avoid feeling super sleepy.
You can live a healthy lifestyle while enjoying the foods you’ve always loved by cooking your food yourself and remembering to move your body, too!
We might seem biased, but we’re not! We truly feel that our pizzas are better than any we can buy from local restaurants. Anytime we’ve hosted others for a pizza party, we’ve received rave reviews from them, too. That’s why we say you can make better-tasting and better-for-you food at home, if you have the right tips and recipes. Bon appetit!
Irene & Brianna
This post contains affiliate links and we may earn a small commission when you click on the links, at no additional cost to you. We only partner with brands or share products that we know, love and trust. When you purchase using one of our affiliate links, it supports Go Live Abundance (at no cost to you!) and allows us to be able to continue bringing helpful content like this to you and others!


